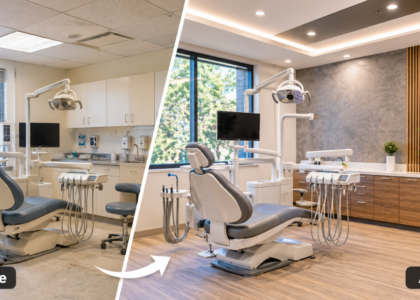






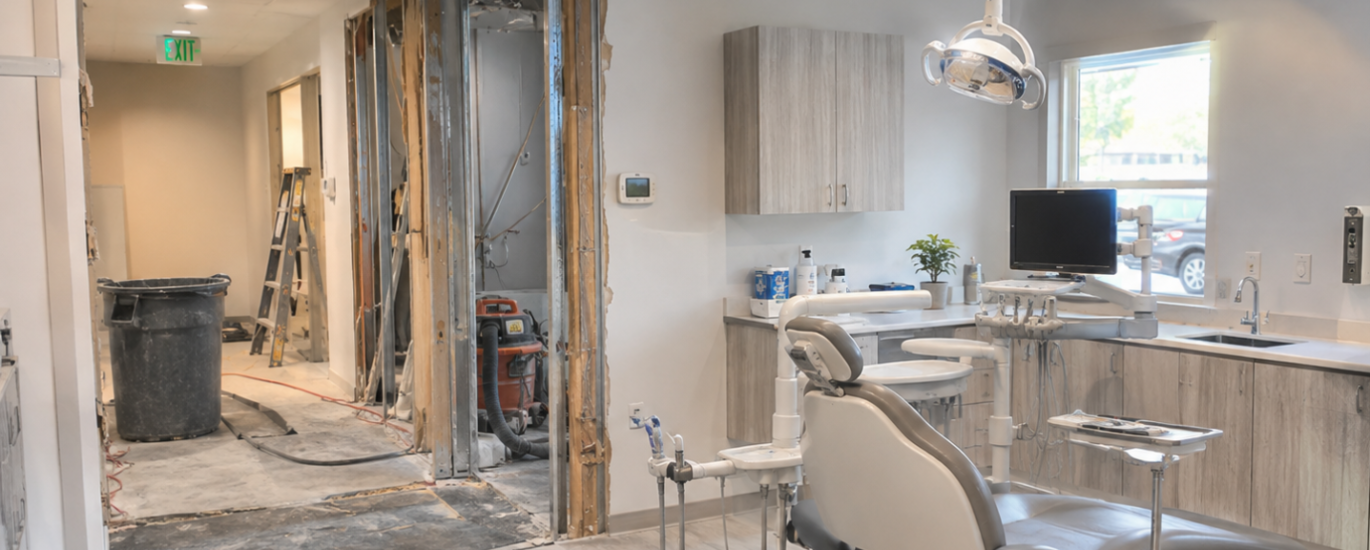
A good dental clinic building design starts with how the practice works, not how the waiting room looks. Layout, plumbing, electrical capacity, equipment, sterilization workflow and accessibility all have to be settled together, and ideally before construction drawings are finalized. A clinic that looks polished but forces staff to cross patient paths, or hides utilities in the wrong walls, will cost more to fix than it would have cost to plan.
This guide walks through what dentists, practice owners and dental groups in the USA and Canada should work out before building or renovating, from the floor plan to permits and the construction sequence.
What Makes a Good Dental Clinic Building Design?
An effective dental clinic does a few things well at the same time:
- Functional layout. Patients and staff reach each space without detours or awkward crossings.
- Patient comfort. The space feels calm and clear to navigate, which matters for patients who are anxious about being there.
- Efficient clinical workflow. Supplies, instruments and equipment sit where the team actually needs them.
- Sensible use of space. Every room earns its square footage, with no dead corners and no cramped support areas.
- Infection prevention. Surfaces, storage and room relationships support cleaning and instrument reprocessing.
- Equipment integration. Chairs, delivery units, imaging devices and compressors have the clearances and utilities they need.
- Long-term flexibility. The building can absorb another operatory or a new technology later without major demolition.
1. Plan the Dental Clinic Layout Around Your Practice Needs
The dental clinic floor plan follows the practice, not the other way around. A pediatric office, an orthodontic practice and a general family clinic use space differently, so start with these questions:
- What type of practice is it, and what services will it offer now and later?
- How many operatories does it need?
- What patient volume do you expect?
- How many dentists, hygienists, assistants and administrative staff will work there?
- How much room do you want for growth?
- What does the available building space allow?
The American Dental Association suggests basing the size and location of your space on a ten-year plan, since that plan determines how many operatories you will eventually need. It also notes that the number of operatories drives the square footage required. Planning for future operatories now is usually cheaper than reconfiguring later.
Once the program is clear, early-stage commercial concept design tests it against the actual space and shows whether the layout works before anyone commits to drawings or a lease.
2. Divide the Dental Clinic Into Functional Zones
Think of the clinic as a set of zones, each with its own job and its own relationship to the others.
Reception and waiting. This is the patient’s first impression and the front desk team’s workplace. It needs a view of the entrance, room for check-in and enough privacy at the desk.
Consultation and administrative spaces. A private room for discussing treatment plans and costs feels more comfortable than an operatory. Offices and records areas can sit further from patient traffic.
Operatories. These are the core of the clinic and should be easy to reach from reception without passing through support areas.
Sterilization and laboratory areas. These work best close to the operatories, so instruments move in short, direct routes, but separate from patient circulation.
Imaging and equipment rooms. Panoramic or cone-beam units, compressors and vacuum equipment have their own space and service needs. Placement affects both workflow and noise.
Staff areas and storage. Break rooms, restrooms and supply storage are easy to shortchange. When they are, supplies end up in corridors and operatories.
The goal is a clear separation: patients move through the front of the clinic and into treatment rooms, while instruments, supplies and staff routes run behind the scenes.
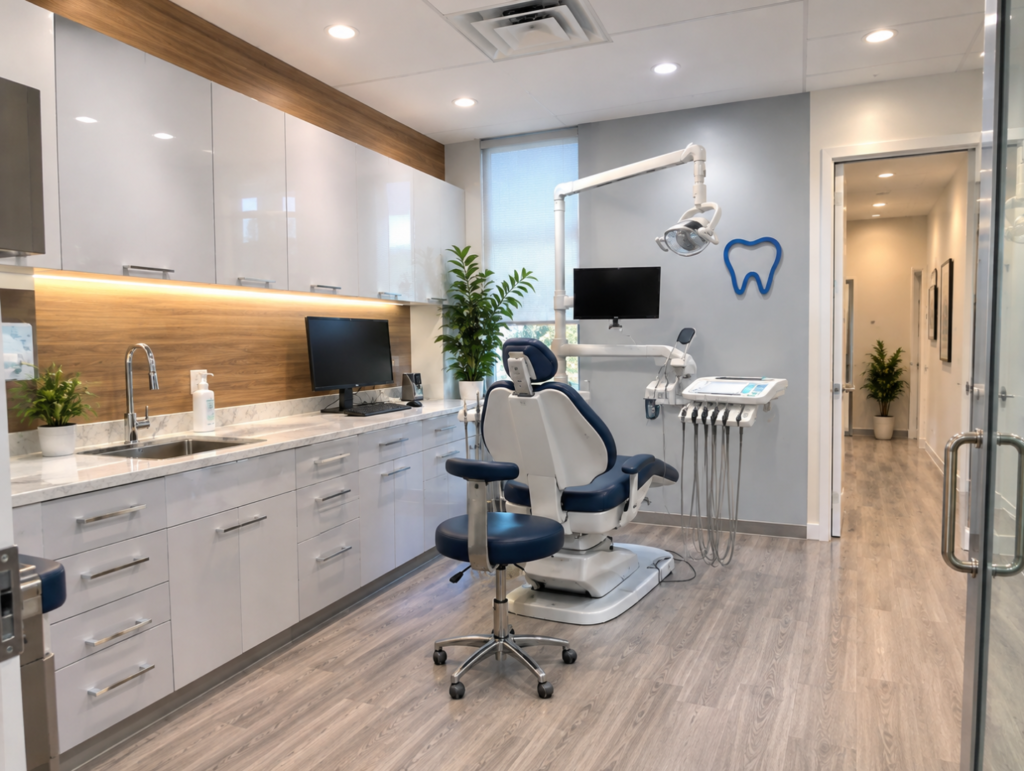
3. Design Dental Operatories for Efficient Clinical Workflows
The operatory is where the clinical workflow either works or doesn’t. Plan these elements together:
- Chair positioning. The chair’s orientation sets how the dentist and assistant move, where the patient enters and where equipment can sit.
- Team movement. Both the dentist and the assistant need unobstructed access to the patient and to supplies.
- Equipment placement. Delivery units, lights, monitors and mobile carts all need defined positions.
- Cabinetry and storage. Supplies within easy reach reduce back-and-forth steps.
- Clinical lighting. The dentist needs good task lighting without it being harsh for the patient.
- Electrical outlets, plumbing, vacuum and compressed air connections. These must line up with the chair and cabinetry layout.
Dental equipment specifications should be known before construction drawings are finalized. Chair and delivery-unit models differ in how and where they connect to utilities, so a rough-in placed for one product may not suit another. Settling the equipment plan first avoids opening finished walls and floors later.
4. Plan the Sterilization Area and Infection-Control Workflow
The sterilization area is a working room, and its layout should follow the sequence of instrument reprocessing. The CDC describes instrument processing as a series of steps that must be carried out correctly and in the proper order every time, with cleaning before disinfection or sterilization.
In practical design terms, that means:
- Separating contaminated and clean flow. Instruments should move in one direction, from receiving to cleaning, then preparation and packaging, then sterilization, then storage.
- Defined instrument receiving. Used instruments need a place to land that is not the same counter used for clean work.
- Cleaning and preparation space. CDC guidance recommends automated cleaning equipment such as ultrasonic cleaners or washer-disinfectors, which need counter space, plumbing and power.
- Room for sterilizers. Equipment, packaging materials and monitoring supplies all need a place.
- Storage for processed instruments. The CDC says sterile items should ideally be kept in covered or closed cabinets.
- Easy-to-clean surfaces. Non-porous, wipeable finishes make routine cleaning easier.
The CDC also advises keeping manufacturer reprocessing instructions available, ideally in or near the reprocessing area, so plan wall or cabinet space for that. Clinical infection-control protocols themselves belong to the practice’s own policies and applicable regulations. The building’s job is to make good workflow possible.
5. Consider Plumbing, Electrical and HVAC Requirements
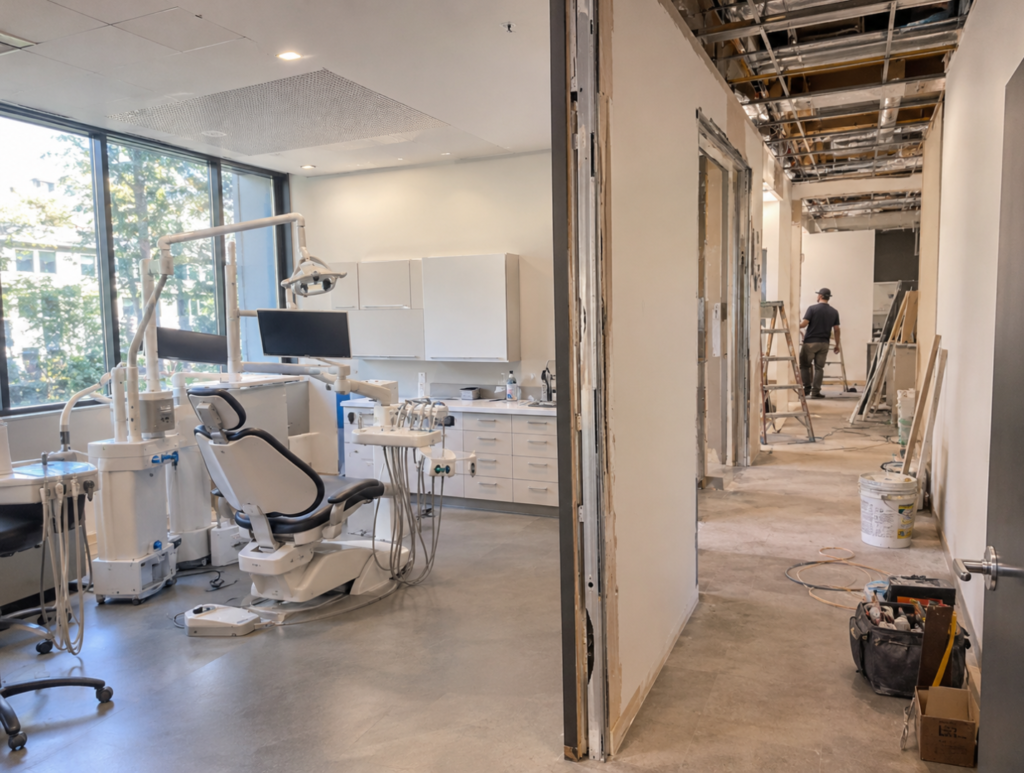
Dental clinics place heavier and more specialized demands on building systems than ordinary offices. The infrastructure to plan includes:
- Water supply and drainage to each operatory, sterilization sinks and lab areas.
- Dental chair connections where utilities run to each chair.
- Compressed air supply and where the compressor will sit.
- Central vacuum systems and the location of the pump.
- Electrical capacity for chairs, sterilizers, imaging equipment, lighting and IT.
- Data and communication infrastructure for practice software, digital imaging and phones.
- HVAC and ventilation that keeps rooms comfortable and controls noise.
- Mechanical equipment locations that leave room for service access.
These systems should be coordinated at the design stage. Rough-ins end up inside walls and floors, so a decision made late usually means demolition and rework. An existing building’s electrical panel, drainage routes and ceiling height may also limit what the clinic can do, which is why they should be checked before the layout is locked in.
6. Design Imaging Rooms and Specialized Dental Spaces
Many clinics include digital X-ray, panoramic imaging or cone-beam CT (CBCT). Each affects space and building requirements differently:
- Intraoral digital X-ray is often integrated into operatories or a small dedicated area.
- Panoramic units need a defined position with clearance for the patient and equipment.
- CBCT equipment is larger and heavier and typically needs its own room.
Plan for electrical supply, data connectivity, floor loading, equipment access during installation and the patient’s route to the room.
Radiation protection is a regulated technical matter. Whether shielding is needed, and what it must consist of, depends on the equipment, the room layout and the rules in your jurisdiction. These requirements must be evaluated by appropriately qualified professionals, such as a radiation protection specialist and the licensed design team, under applicable local regulations. Bring them in early, as wall construction depends on their findings.
7. Choose Durable Materials, Lighting and Interior Finishes
Finishes in a dental clinic must look good and hold up to daily cleaning. Weigh these choices:
- Flooring. Seamless or easy-to-clean surfaces handle spills, rolling equipment and frequent cleaning.
- Walls. Finishes should withstand repeated wiping without staining or damage.
- Countertops and cabinetry. Choose non-porous, durable surfaces for treatment and sterilization areas.
- Lighting. Combine focused clinical lighting with softer ambient light in patient areas.
- Acoustics. Sound-absorbing treatments and good separation between rooms reduce the noise of equipment and conversation.
- Patient-friendly finishes. Warm colors, natural materials and calm lighting help anxious patients relax.
The CDC distinguishes between clinical contact surfaces and housekeeping surfaces such as floors and walls, and notes that frequently touched clinical surfaces carry more risk. In design terms, that means putting the most durable and easiest-to-clean materials where contact is highest, and reserving more decorative treatments for reception and consultation spaces.
8. Consider Accessibility, Building Codes and Permits
The USA and Canada do not share one building-code or accessibility framework, so requirements depend on where the project is.
In the United States, building rules are set at the state and local level. Federally, the ADA classes dentists’ offices as places of public accommodation, so newly built or altered dental clinics generally need to meet ADA accessibility standards, along with any stricter state or local rules.
In Canada, building regulation is a provincial and territorial responsibility. The National Building Code is a model code, and provinces and territories adopt it by legislation, often with their own changes. ADA requirements do not automatically apply in Canada. Accessibility rules vary by province and by project.
Across both countries, the issues to plan for include:
- Accessible entrances, routes, restrooms and treatment spaces
- Fire protection and life-safety requirements
- Plumbing and electrical approvals
- Any additional requirements for healthcare facilities in your jurisdiction
- Local permits, inspections and final approvals
What applies to your clinic depends on the state, province or territory, the municipality, the facility type and the scope of work. A change of use, a major renovation and a cosmetic update can each follow a different approval path. Confirm requirements with the local building authority and your licensed design professionals before design is finalized. Experienced building permit coordination helps keep applications, drawings and inspection scheduling organized.
9. Coordinate Dental Clinic Design With the Construction Process
A dental clinic project moves more smoothly when design and construction are planned together. A typical sequence looks like this:
- Initial property assessment. Review what the building offers and what its systems can support.
- Practice requirements and space planning. Convert the clinical program into a layout.
- Concept development and drawings. Develop the layout into drawings suitable for review and pricing.
- Dental equipment coordination. Confirm equipment models and their utility needs.
- Technical and building-system coordination. Align mechanical, electrical, plumbing and any specialist input with the plan.
- Permit applications and approvals. Submit documentation and respond to review comments.
- Construction and installation. Build, then install equipment and cabinetry.
- Inspections and final handover. Complete required inspections and walk through the finished clinic.
Designers, engineers, equipment suppliers and trades all touch the same walls, so someone has to keep them aligned. That is the role of commercial general contracting: sequencing trades, managing subcontractors and checking work before the next trade covers it up. Scheduling, budgeting and decision tracking sit alongside that work, and construction project management keeps the owner informed about progress and changes.
Regulated architectural and engineering work must be performed by professionals licensed in your jurisdiction. A contractor coordinates with those professionals and builds from their documents.
10. Common Dental Clinic Building Design Mistakes to Avoid
Finalizing the layout before checking existing infrastructure. Drawing an ideal floor plan and then discovering the drainage, power or ceiling height can’t support it leads to redesign. This matters most when converting an existing unit, where commercial renovation services start with an assessment of what the building can actually handle.
Underestimating equipment requirements. Compressors, vacuum pumps and imaging units need space, power and ventilation. Treating them as an afterthought squeezes them into poor locations.
Poor sterilization workflow. If used and clean instruments share a counter or cross paths, the room works against the infection-control process it is meant to support.
Too little storage and service space. Supplies stacked in hallways are a sign the plan left out back-of-house space.
Ignoring accessibility. Retrofitting an entrance, restroom or treatment room after the fact costs more than designing it in.
Overlooking future expansion. If you may add operatories later, leaving space or roughing in utilities now is far cheaper than reopening finished work.
Making equipment decisions too late. Late changes to chairs or delivery units can mean moving utility connections that are already in the walls.
Failing to coordinate trades. When plumbers, electricians, millworkers and equipment installers work from different drawings, conflicts appear on site, where they are most expensive to resolve.
Plan Your Dental Clinic Construction With Charcoal
A functional dental clinic comes from decisions made in the right order: practice needs first, then layout, equipment, building systems and permits, then construction. Concept design, trade coordination and project management each play a part in keeping those decisions connected.
Charcoal Construction is a commercial design-build and general contracting firm that has worked in commercial construction since 1999 and serves clients in the USA and Canada. Our dental clinic design-build services cover new clinic build-outs and renovations, with coordination from early planning through permits and construction. Where a project needs stamped drawings, we work with the licensed architects and engineers responsible for them.
If you are planning a new practice or updating an existing one, get in touch with Charcoal Construction to discuss your dental clinic project, your space and your goals.